
Nothing is more satisfying than a perfectly clean house. It’s spring cleaning season, so roll those sleeves up and get to work! Without the correct plan of action, however, those chores can quickly pile up and become overwhelming.
Our team has gathered their 5 steps to help with a quick and efficient spring cleaning for you.
1. Plan out the work that needs to be done
To make your life easier, tackle your spring cleaning project room by room, by taking the time to make a list of things to do. Below is a downloadable checklist so you don’t forget anything.
Determine what is a priority and spread it out over a realistic timeline. Be sure to not to overload your days to keep yourself motivated. Share the tasks among the family members according to the age of each. It will be more manageable and done faster with help.

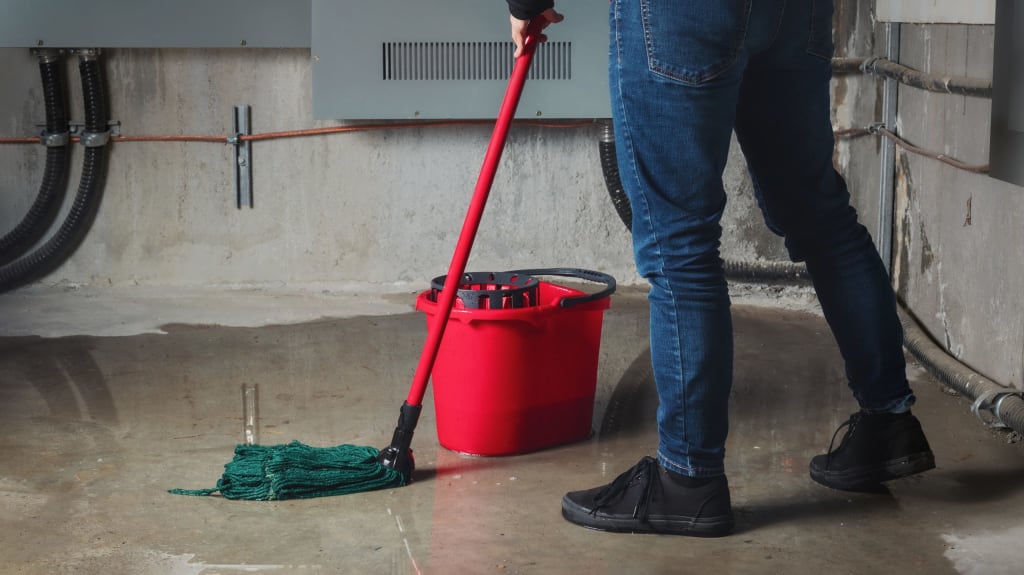
2. Gather up all the necessary supplies
It’s always easier to accomplish all the necessary tasks for your spring cleaning when you are well equipped. Take inventory of what you have and get the equipment and cleaners you need to get the job done quickly and efficiently.
List of main things you will need:
Bucket
Mop
Broom and dust pan
Vacuum
Duster with telescopic handle
Rubber gloves
Rags and sponges
Magic Eraser
Etc.
Cardboard boxes
Garbage and recycling bags
Glass cleaner
All-purpose cleaner
Use eco-friendly and natural products, like those offered by brands like Biovert or ATTITUDE, to avoid the dangers linked to the use of traditional household cleaning products that contain harsh chemicals. These choices are good for the health of your family as well as the environment.
3. Air out the house
Take advantage of good weather to open the windows and ventilate the house. You will not only let in the smell of spring and the song of birds, but will also air out any allergens and trapped particles in your home, in the event that you do not have a central heating and air conditioning system equipped with a air exchanger.
A minimum of 15 minutes per day is recommended to clean the air and help maintain a good level of relative humidity. This can help limit the risk of respiratory tract irritation.
4. Declutter before cleaning
Take a moment to put the house in order before you start your spring cleaning. Put away what is lying around and eliminate what you no longer need. Sort your clothes, empty and reorganize your drawers, your bookshelves, as well as any other storage that could benefit from a good reorganization. And above all, remember to recycle, sell or give away what is in good condition.

5. Start cleaning
Once you have completed the previous steps, you are now ready to start cleaning. To help you remember everything, here is an idea of the elements to clean in each of the main rooms of the house:
The kitchen
Walls and ceilings
Windows
Pantry
Stove and oven
Fridge and freezer
Cabinets and drawers
Backsplash
Floor
Small electrical appliances and vent hood
Dishwasher
Take the time to throw out expired food and take out the dishes to do a thorough cleaning.

The bathroom
Walls and ceilings
Windows
Shower curtains
Floor tile
Mirrors
Floor
Sink and taps
Shower
Bath
Toilet
Fan
Also remember when cleaning out the medicine capacity to properly dispose of all expired products and drugs.
The living room
Walls and ceilings
Windows
Draperies, curtains and blinds
Lighting and lamps
Bookcase and shelves
Decorative accessories
Flooring
Be mindful to wash rugs, cushions and curtains with hot water to prevent dust and allergens from being released into the air.

The bedroom
Walls and ceilings
Windows
Bedding
Lamps and lampshades
Decorative accessories
Flooring
Take the opportunity to sort your clothes, donate the ones you no longer wear and put away the knits to make room for the lighter clothes. Also turn the mattress over, taking care to rotate it to distribute the wear.
The basement
Walls and ceilings
Windows
Decorative accessories
Flooring
Bathroom
Use plastic bins to store seasonal items and get rid of things you no longer need. Your space will be much more organized and manageable.
Mission accomplished!
Now that spring cleaning is over, it’s time to congratulate yourself and admire your great work. Go outside to enjoy the beautiful sunny days and if you feel like it, why not prepare your house for spring? In addition to being clean, your home will be well maintained, which will allow it to maintain excellent long-term value. It’s also a good way to prevent costly problems.
Trust your renovations to the experts
A big spring cleaning is also an opportunity to identify things that need to be replaced, such as doors and windows. It can also inspire you to renovate the kitchen or the bathroom to be better organized or modernized.
You may also have noticed cracks in the walls or foundation that need to be checked to avoid water infiltration problems.
In short, we understand the difficulties that come with finding a reliable and high-quality contractor for your project, so let us take away that stress!